
Libris Translate 0.28.0 · User guide
Your first translation
From a source file to a translated book you can proofread and download.
On video
What the video shows, step by step
- Before you start: a Linux x86-64 server with Docker Engine 26 or newer and Compose v2, 2 GB of free memory, a language model and the licence email.
- Step 1: check Docker with sudo docker compose version.
- Step 2: sign in to the registry with sudo docker login registry.libris-translate.com, using the username and token from the licence email.
- Step 3: run the official install command; the installer from the image takes over, creates /opt/libris and starts PostgreSQL, the migration, the API, the worker and the Codex bridge.
- Step 4: check the installation with curl --fail http://127.0.0.1:8088/health, then read the administrator password with sudo grep '^BOOTSTRAP_' /opt/libris/.env.
- Step 5: sign in as admin at http://localhost:8088.
- Step 6: activate the licence in Settings › Licence.
- Step 7: add a model in Settings › LLM providers; here, a “Codex · ChatGPT account” provider, signed in with a device code, using the GPT-6 Luna model.
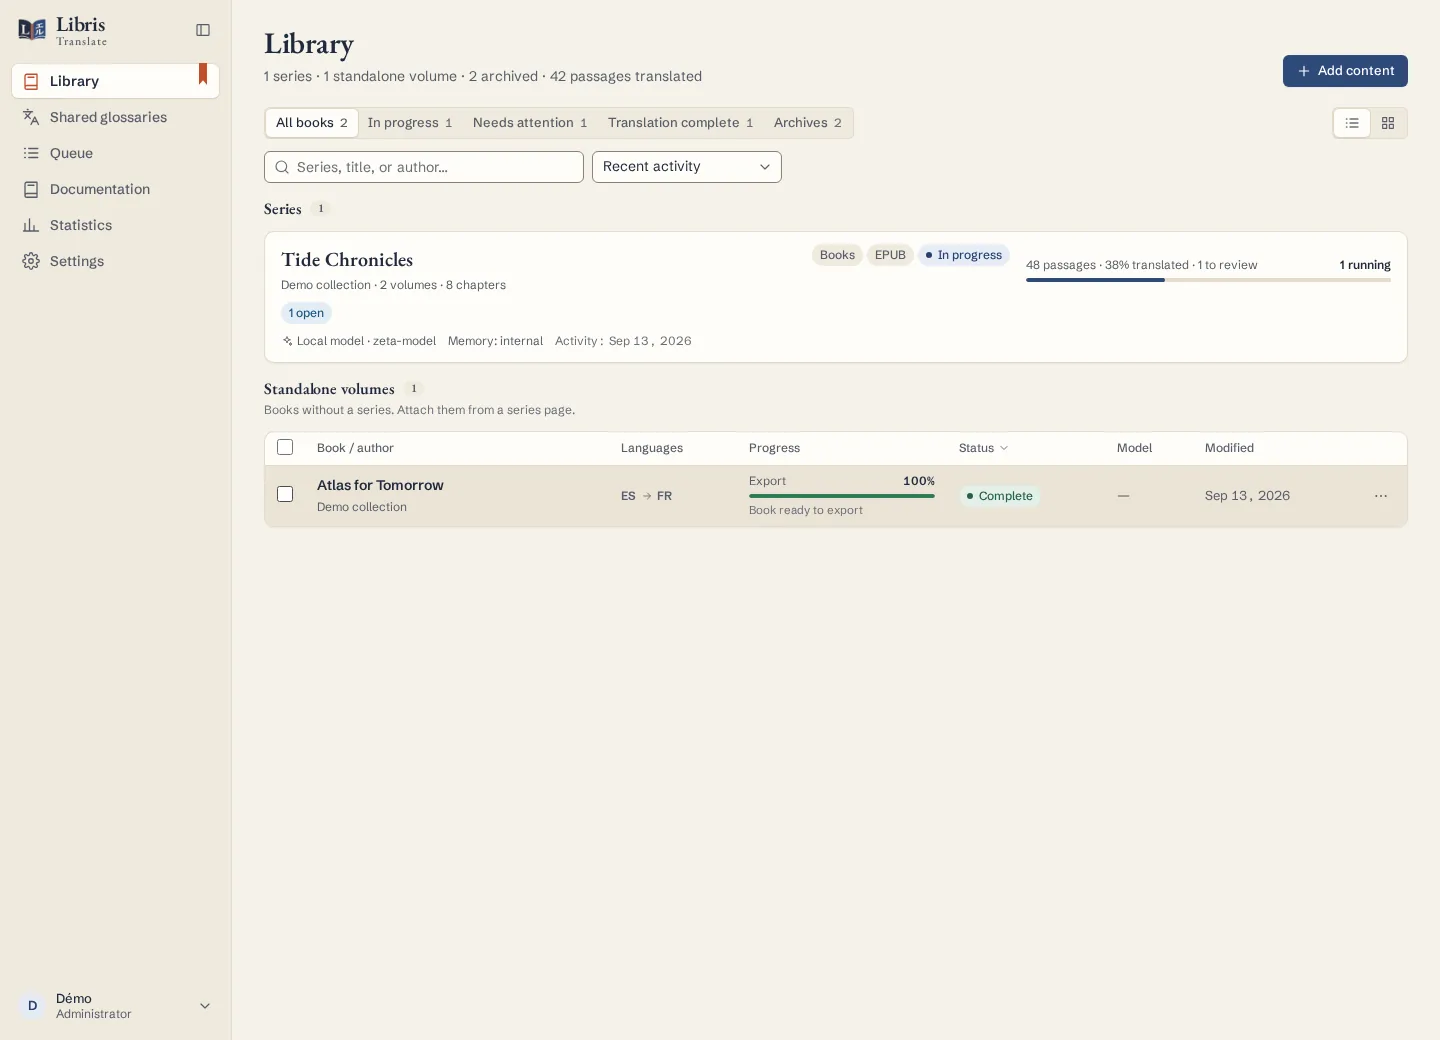
- Step 8: add an EPUB with Add content, then “Import and run the whole pipeline”; the autopilot takes the book all the way to the final EPUB.
Steps
- Sign in to Libris Translate. Before anyone can translate, an administrator activates the licence under Settings › Licence and adds a model provider under Settings › LLM providers. If the administrator allows it, you can also add a provider with your own key under My account › My providers.
- In Library, click “Add content”. Say what you are adding and where it should go, then drop the files. Nothing is imported before the last step, so you can go back and change anything.
- On the Pre-analysis step, check the titles and the volume or chapter numbers Libris Translate suggests. On the Confirmation step, pick the source and target languages, the provider and the quality, and read the estimate under “Before importing”.
- “Import and run the whole pipeline” hands the book to the autopilot: analysis, translation, review and arbitration follow one another without asking you to approve anything. With “Import only”, the book waits until you start it from its own page. A book is counted as soon as it is imported; one that needs more words than the licence’s quota has left, plus the margin, cannot be imported: the estimate says so, with the date of the new quota, and the import buttons stay disabled.
- When the book is finished, read the Summary & recovery tab, then start proofreading with the passages the Quality tab scores lowest. Download the result with “Export”.
What to know
Your licence counts the words of the source text once, when the book is imported, even if you delete it without translating it; translating it, running it again or correcting a passage then costs nothing more. The model provider bills its own usage separately. A passage that no model could translate keeps its original text and is listed in the Summary & recovery tab, so look there before you share the book.
Fictional example
Start with one fictional chapter, such as “Mara Returns to the Lighthouse”, from English into French. Correct one sentence by hand, then export a bilingual EPUB to read both texts side by side.